This tutorial is to help you take your landscape and nature photography to the next level by making the most of your time in the field. Whether the forecast calls for bluebird skies or stormy weather these tips will help you create maximum impact photos by choosing the right location at the right time.
1. Photograph Fresh Water on Overcast Days No sun. No problem. Skip the beach and hit that forest to photograph your favorite stream or creek. When photographing water, harsh sunlight is a photographer's greatest enemy as reflected glare or direct sunlight easily washes out the prettiest of scenes. Your best bet is not to include any sky in your pictures and make sure you adjust your polarizer for both water and foliage glare. Lastly, use faster shutter speeds on the trees then you do on your water.
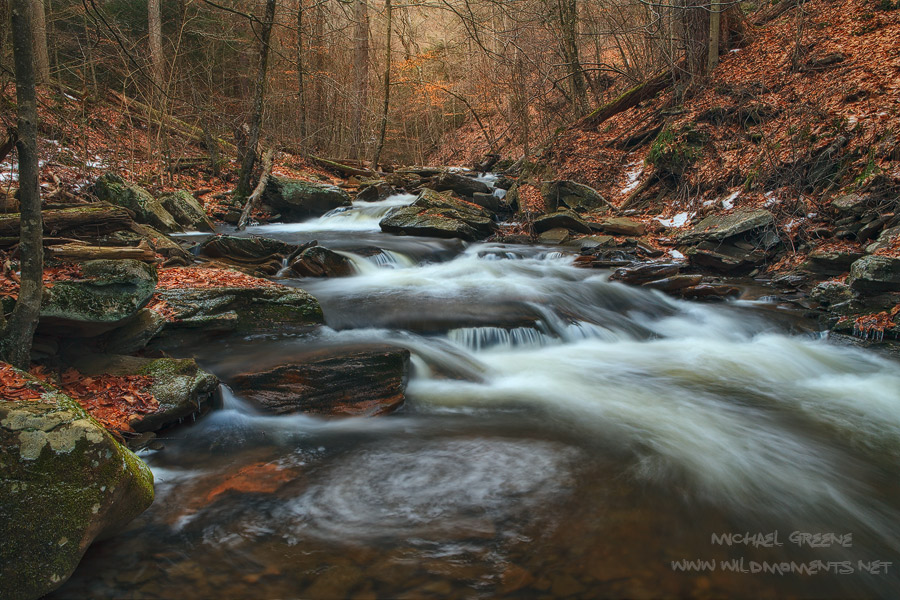 It was a snowy, dreary afternoon on Christmas Eve when I made this shot in Ricketts Glen State Park
2. Bright Sun is Best for Slot Canyons or Sand Dunes Both types of subject matter emphasize form, shape, and pattern. Blue skies and warm light reflect boldy off of both types of landscape scenery and bring these scenes to life. While dark shadows compliment the scenery and add depth. Dull, overcast days suck the life and color out these areas and make for drab photos. If you are visiting the SW or West Coast and the forecast calls for a week of straight sun...you now know where to head!
3. Make the Most Out of Rainy Days Got Rain? No problem. Will work and travel. Just remember to dress properly, bring two umbrellas (in case one breaks) and your lens hoods. Rain works great for intimate forest scenes, misty mountain tops, and can be effectively utilized in desert photography as long as your avoid mud and lighting. And whatever you do...stay out of slot canyons and narrow creek beds. And remember, before you throw in the towel, hang out for sunset because you never know when that storm is going to break!
 It was raining while I captured this picture outside of Silverton, CO.
4. Time Your Visit For the End of the Storm While the days leading up to a massive storm can be dramatic too, I've had more photographic productivity during the tail end of a storm system. Fog normally happens during or after the storm as temperatures usually take a couple days to drop and humidity levels steadily rise. A clearing storm also makes for the best atmospherics and light as many times systems dissipate just before sunset. And don't forget the day after the big front is gone will produce awesome shooting too. The landscape will be saturated with water, colors will be popping, and lingering clouds will compliment the scenery.
5. Utilize Blue Hour Photography Sunset does not mean you put away your camera. In fact, sometimes it's when the fun gets started. So don't get discouraged if you didn't get anything good for sunset because often times blue hour will yield better results. 'Blue hour' is defined as the hour before sunrise and the hour after sunset. I prefer the later as you'll already be on site and light will be fading as opposed to it getting lighter. Stay until dark and then some. Rember your camera has a better eye then you do. Just don't forget your remote control as exposure times can be longer than 30 seconds depending on your aperture and ISO speeds. Blue hour works exceptionally well in the open desert as opposed to a dark forest because ambient light is more readily available and long shutter speeds don't show motion in the ground cover.
 Sunset didn't work out, but I managed to snag this image about 1/2 hour after sunset at the Grand Canyon.